
AUGMENTING
THOSE WHO BUILD
AUGMENTING THOSE WHO BUILD
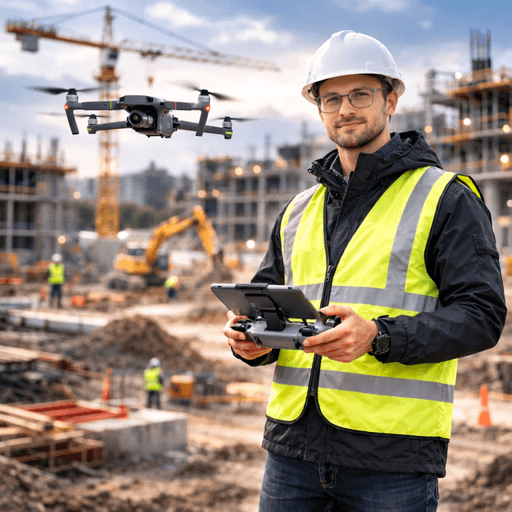
A ConTech ecosystem that captures, transforms and unlocks visual data to improve construction monitoring, safety and project performance.


Solving construction teams
challenges every day
Solving construction teams challenges every day
Supervision & project progress
Safety & risk reduction
Communication & Marketing
Supervision & project progress
Safety & risk reduction
Communication & Marketing
Built for the people who run construction projects
Built for the people who run construction projects


Tikee Solution
a fully integrated ConTech ecosystem

Capture

Transform
Unlock
Tikee camera family
Autonomous timelapse cameras capturing high-resolution images throughout the project.
Tikee Solution
a fully integrated ConTech ecosystem
Capture
Transform
Unlock
Tikee camera family
Autonomous timelapse cameras capturing high-resolution images throughout the project.
Tikee Solution
a fully integrated ConTech ecosystem
Capture
Transform
Unlock
Tikee camera family
Autonomous timelapse cameras capturing high-resolution images throughout the project.

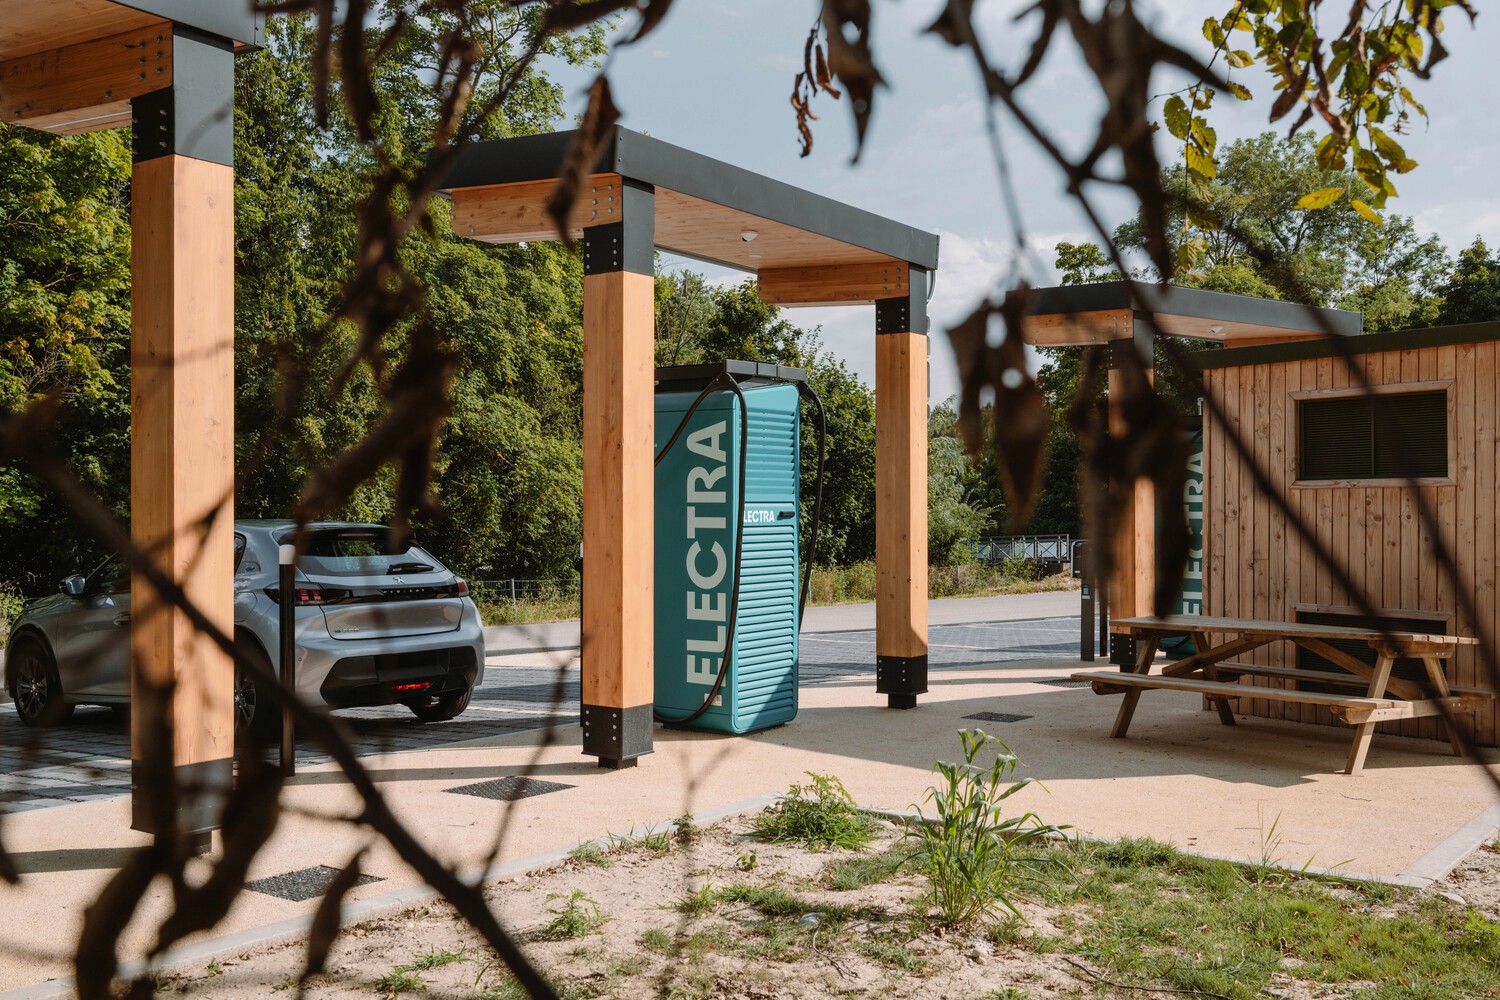
"Without this tool, we would have lost at least a week of work and therefore revenue. It saves us an invaluable amount of time.”

Bryan Mauvieux, Electra
"Without this tool, we would have lost at least a week of work and therefore revenue. It saves us an invaluable amount of time.”
Bryan Mauvieux, Electra
Real projects. Real impact.
Real projects.
Real impact.
Monitoring hundreds of sites across Europe, seamlessly.
The monitoring of nearly 400 projects in 9 countries was significantly improved thanks to Enlaps and the Tikee Solution.
We were able to save time, reduce travel, and enhance transparency.

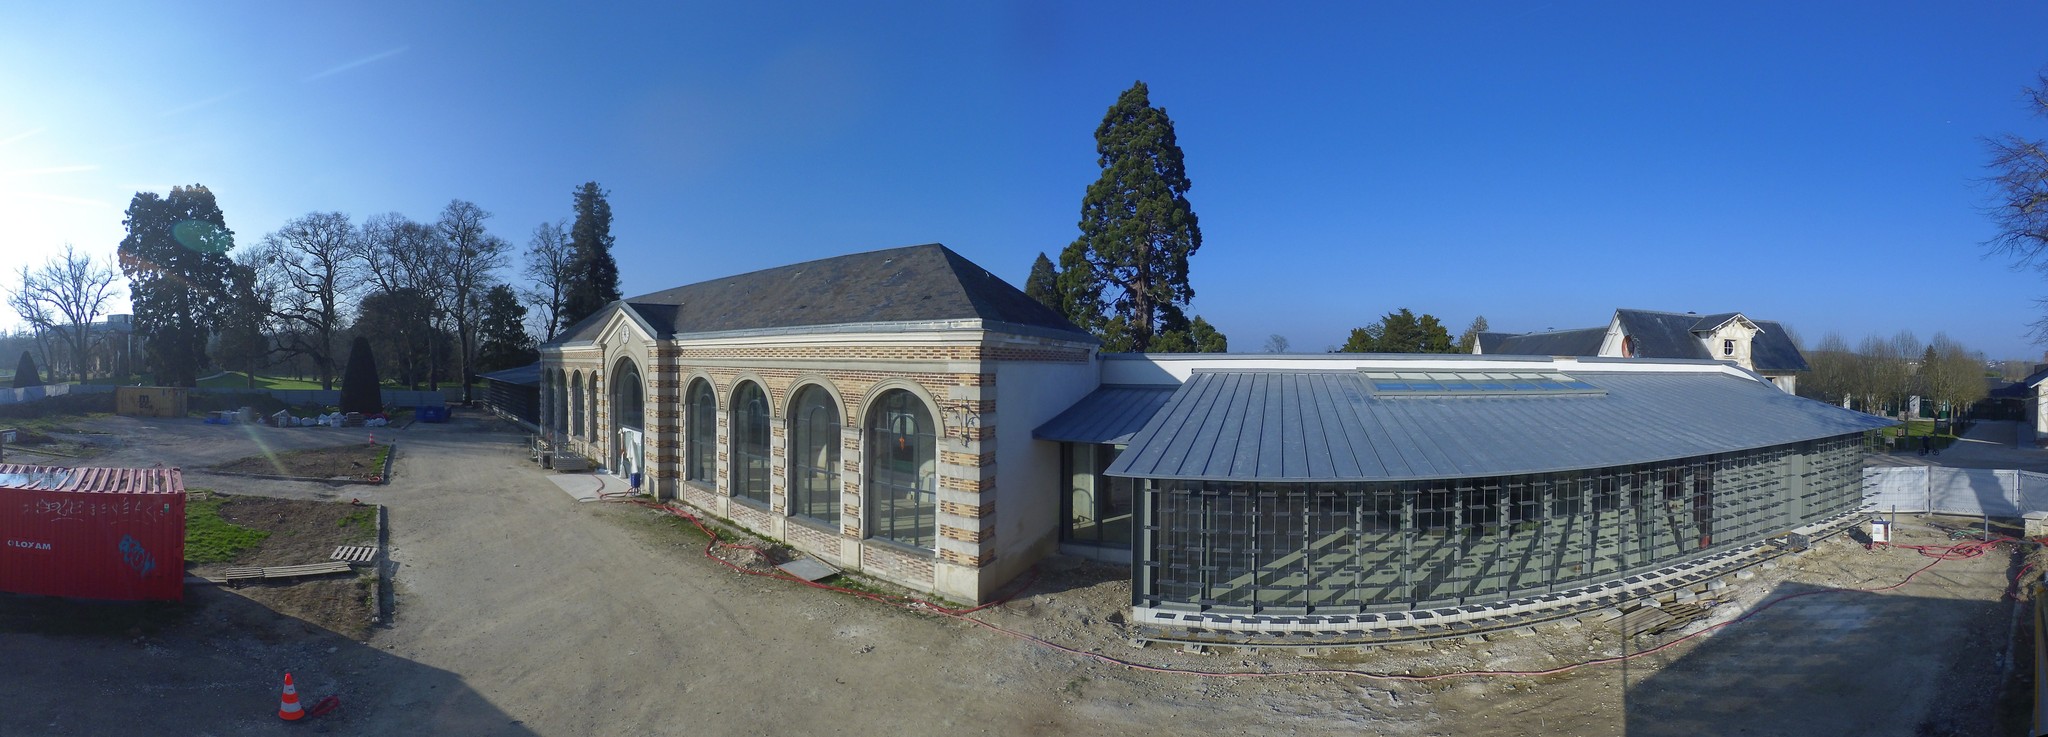
Reducing on-site travel, while keeping a reliable overview.
As a communications agency, we helped a local authority reduce on-site travel by 30% while keeping a real-time overview of its construction projects.


Promoting a touristic destination with autonomous visual monitoring.
The Tikee solution transformed our visitor communication by replacing an outdated webcam.
It improved reliability, simplified operations, and showcased the ski area with stunning real-time imagery.

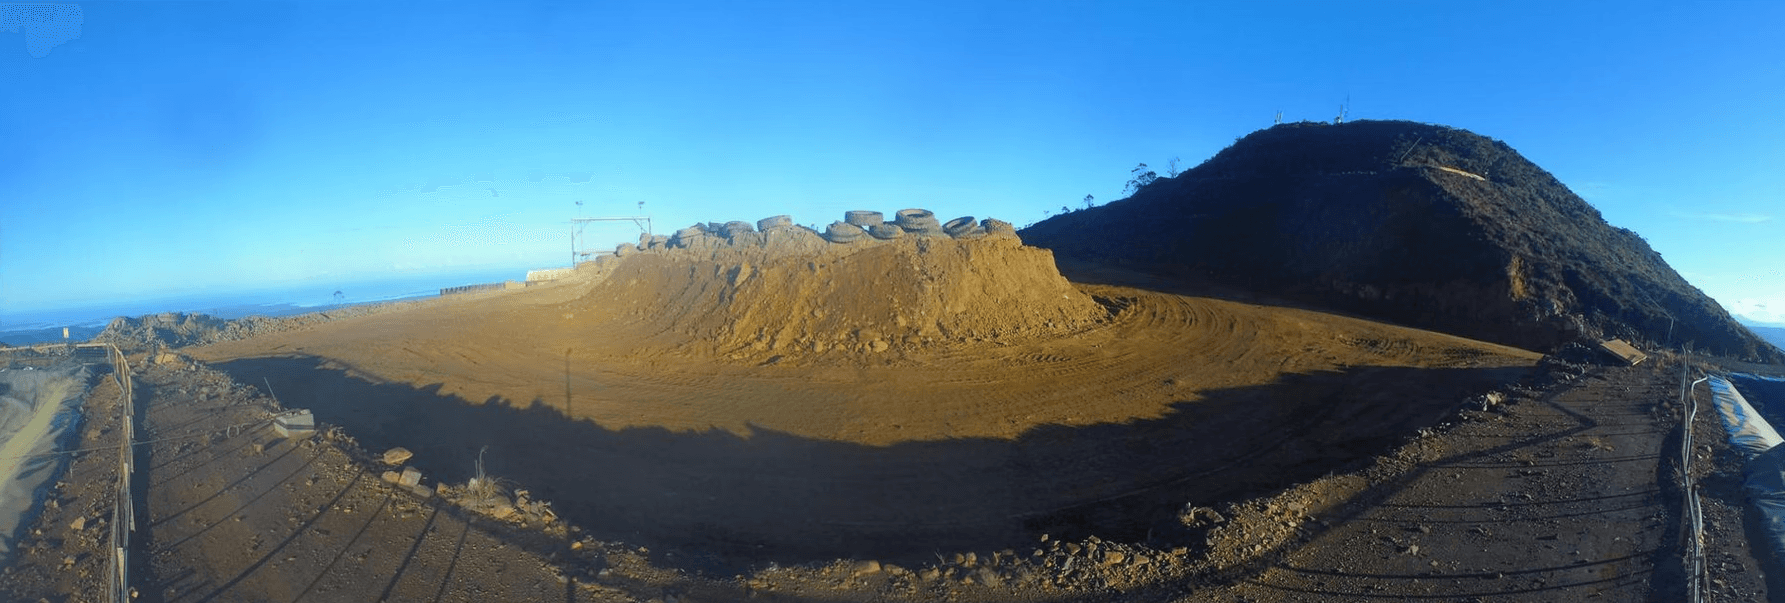
Remote monitoring made easy.
We enhanced the security and efficiency of mining operations, even in the most remote locations.
All thanks to the Tikee timelapse solution from Enlaps.

Monitoring hundreds of sites across Europe, seamlessly.
The monitoring of nearly 400 projects in 9 countries was significantly improved thanks to Enlaps and the Tikee Solution.
We were able to save time, reduce travel, and enhance transparency.
Reducing on-site travel, while keeping a reliable overview.
As a communications agency, we helped a local authority reduce on-site travel by 30% while keeping a real-time overview of its construction projects.
Promoting a touristic destination with autonomous visual monitoring.
The Tikee solution transformed our visitor communication by replacing an outdated webcam.
It improved reliability, simplified operations, and showcased the ski area with stunning real-time imagery.
Remote monitoring made easy.
We enhanced the security and efficiency of mining operations, even in the most remote locations.
All thanks to the Tikee timelapse solution from Enlaps.
10
years of innovation
10
years of innovation
40k
construction projects monitored
40k
construction projects monitored
500M
photos uploaded on our cloud platform
500M
photos uploaded on our cloud platform
500
worldwide Enlaps Preferred Partners
500
worldwide Enlaps Preferred Partners
Why Enlaps
Why Enlaps
Join the thousands of satisfied users who trust Enlaps to capture and monitor their projects.
Join the thousands of satisfied users who trust Enlaps to capture and monitor their projects.
Ready to exploit the power of digital imagery for your projects?
Point de vue Altitude
⭐⭐⭐⭐⭐
Reliable and efficient equipment! We've been using ENLAPS equipment for 4 years now, and we're completely satisfied. Our customers confirm it every time
hg@projekt-2.net
⭐⭐⭐⭐
Enlaps has good products, but I would be happy to have German support or even German distribution.
Edouard BLANDIN - Geolithe
⭐⭐⭐⭐⭐
Nous sommes très satisfaits de vos caméras : la fiabilité est excellente depuis l'installation de 4 caméras Tikee mini et Tikee 4 sur le terrain.
DOKU MEDIA FILM
⭐⭐⭐⭐⭐
I now have 3 Tikees with annual subscriptions and have received excellent advice and delivery every time. EVERYTHING TOP !!!!
Segore Teddy - CharisUAS
⭐⭐⭐⭐⭐
Enlaps has a user-friendly design, powerful features such as remote control and monitoring, and reliable support, which makes it a valuable tool for monitoring construction projects.
Chris Müller - Framebuilder Film und Medien
⭐⭐⭐⭐⭐
Continuous updates have constantly improved usability
Jean Francois Freret
⭐⭐⭐⭐⭐
Very good quality Timelaps device, easy-to-use enlaps platform, fast shipping and top-notch sales and support! I can't recommend it enough!
Traque Visual Production
⭐⭐⭐⭐⭐
Impeccable delivery, top-notch after-sales service with responsive and professional customer care. I recommend.
P Grubsztein
⭐⭐⭐⭐⭐
For me the best choice in standalone cameras for timelapses of construction sites.
Altidrone974
⭐⭐⭐⭐⭐
Perfect professionalism in all aspects: sales, technical, support. Reliability, excellent product and bravo to the French team to boot. Keep up the good work...
MX Reflexion
⭐⭐⭐⭐
Easy to install, thanks to the hardware included in the Tikee 3 Pro + package. Sharing links to access images on the server is appreciated. One point for improvement: increase remote management options (software updates, synchronization via Alwayson to be improved, etc.).
José António Da Costa - Petromar Lda
⭐⭐⭐⭐⭐
the communication with the support team, the pictures and report. it's easy to use. everything is great for now. I recommend enlaps for photography lovers.
F Vantorre
⭐⭐⭐⭐⭐
intuitive, functional, efficient, everything is there, the product and the associated solution live up to the promise, I recommend without hesitation.
s.lazic@lazic.de
⭐⭐⭐⭐⭐
Great product, everything has worked perfectly so far.
Romain Rubini Photographe
⭐⭐⭐⭐⭐
This timelapse device is well designed, ergonomic and resistant even in hostile environments, such as building sites, rain and hail... I'm very satisfied with these cameras, which I've already installed on 8 jobsites simultaneously.
Broadwing Media - Aerial Drone Operators
⭐⭐⭐⭐⭐
Great products, fast delivery. Would highly recommend.
JRB Castro - IDIRIA SLU
⭐⭐⭐⭐⭐
Easy purchase process. Estimated delivery date was August 21st and it arrived on the 17th. The shipment has tracking to know where the package is at all times. The quality of the product to the eye and touch is very good. To improve: paper instructions only in English and French.
Yoann Fontanille
⭐⭐⭐⭐⭐
Very professional team and products, very responsive. The cameras are perfect and the team is always ready to listen.
Ignasi Piña Jurnet
⭐⭐⭐⭐⭐
Great customer service, the machines work very well. it took us a while to activate the storytelling add-on but they helped us. ;)
Segore Teddy - CharisUAS
⭐⭐⭐⭐⭐
Enlaps has a user-friendly design, powerful features such as remote control and monitoring, and reliable support, which makes it a valuable tool for monitoring construction projects.
Sales DE
⭐⭐⭐⭐⭐
Strong product with high robustness. Connectivity has been continuously improved and is now at an excellent level. Fast working support.
Ludovic ERARD (high-mountain guide)
⭐⭐⭐⭐⭐
Very satisfied and improvements on the options from month to month. No particular worries and a team that listens when needed. Easy to use and robust (I use it in difficult environments).
Customer reviews from Google Business and Trusted Shops