With Panolapse360
This fairly simple tool allows you to animate panoramic time lapses by extracting a classic or fisheye view from a panorama. Because the orientation of such a view can change over time, it is possible to create the illusion of a camera rotating and/or zooming during the shooting.
Note: this working mode may require a lot of disk space for large projects.
Image conversion
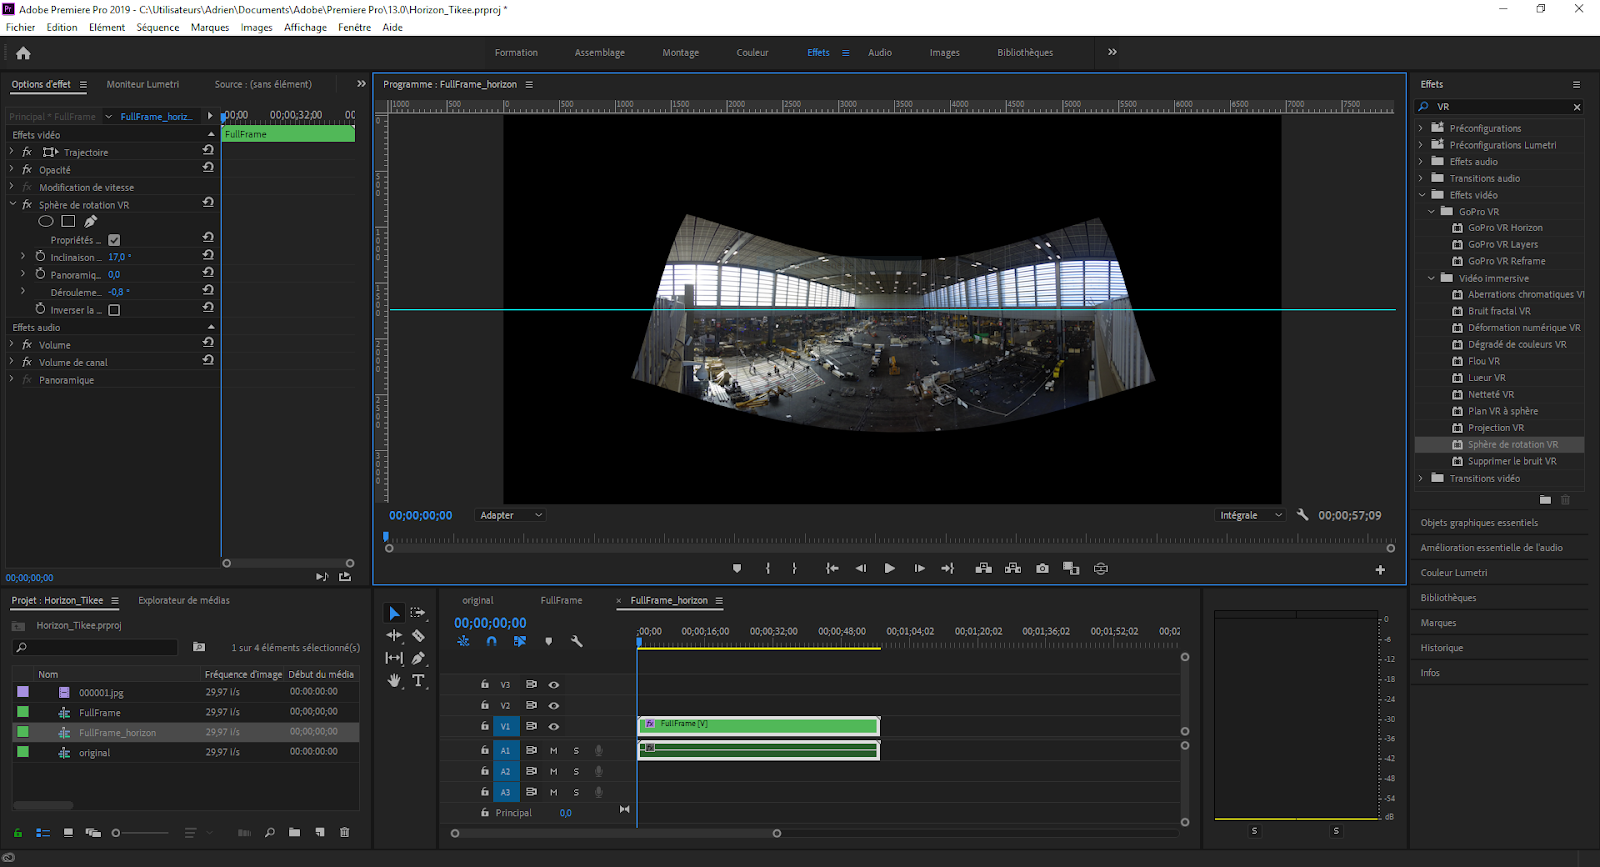
As we have been able to detail in other blog articles[How to correct the horizon of a timelapse made with Tikee ?], Tikee does not generate a complete panoramic. However, Panolapse360 does not accept partial panoramas (in v1.20).
The first step is to integrate each Tikee image into a larger equirectangular image, a bit like we were able to do in the previous article[How to correct the horizon of a timelapse made with Tikee ?].
For this, you can use the “Batch conversion” feature of the “XnConvert“.

Multiple conversion in XnConvert
First add the folder containing the renamed images, specify the output folder, and go to the tab “Actions” > “Add action” > “Image”.

Multiple conversion
Add the action “Reframing“, specify 6960×3480* px as dimensions for a source that is 4260×1534 px. You can then click on “Lancer” to trigger batch conversion.
*to be adapted according to the initial resolution of the sequence with the formula: HEIGHT = ORIGINAL_HEIGHT/0.441 and WIDTH =2*HEIGHT
Choose to export the images in a new folder in jpg format to ensure compatibility with Panolapse360.
To avoid possible quality losses, you can change the compression options in the “General” tab of the batch conversion tool.
Image loading
When launching Panolapse, click on “Import photos“. The software will then ask you for the type of input image, and the type of view you want to output (“Fisheye” or “Normal“).

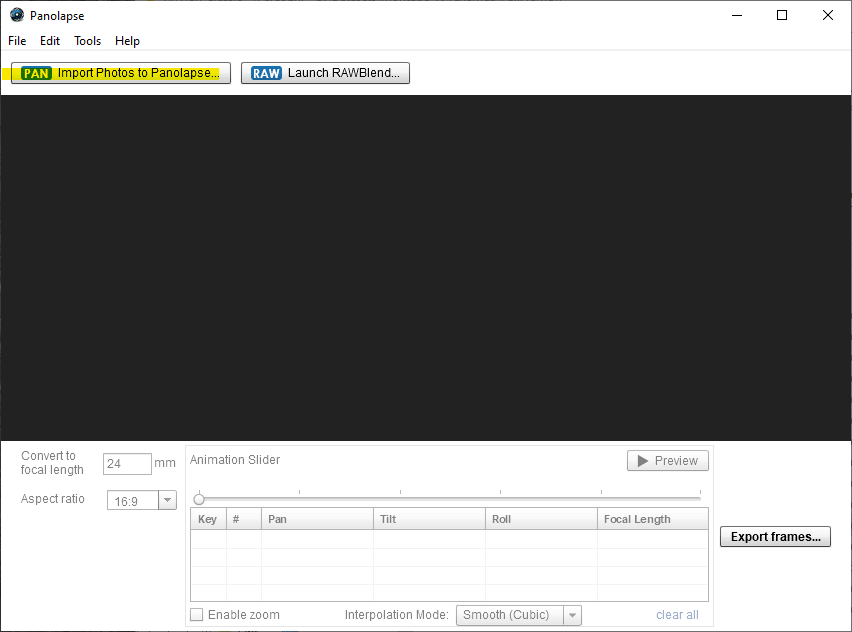
Panolapse : home screen

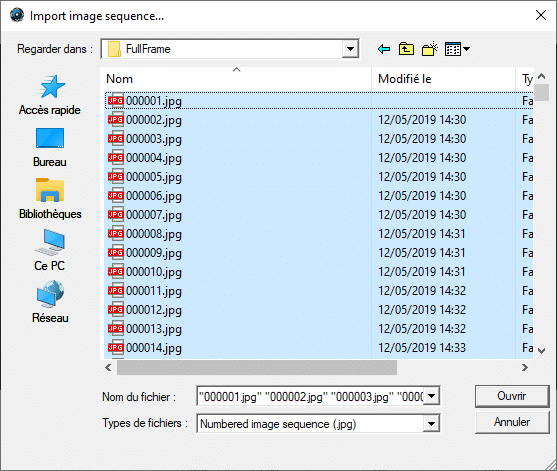
Panolapse : sequence selection
The type of output view “Fisheye” allows to have a wider field of view at the price of a slight distortion. No need to enter the focal length or crop factor at this step as we use a type of view “Equirectangular“.
View modification
Once your sequence is imported, you get an interface as follows:

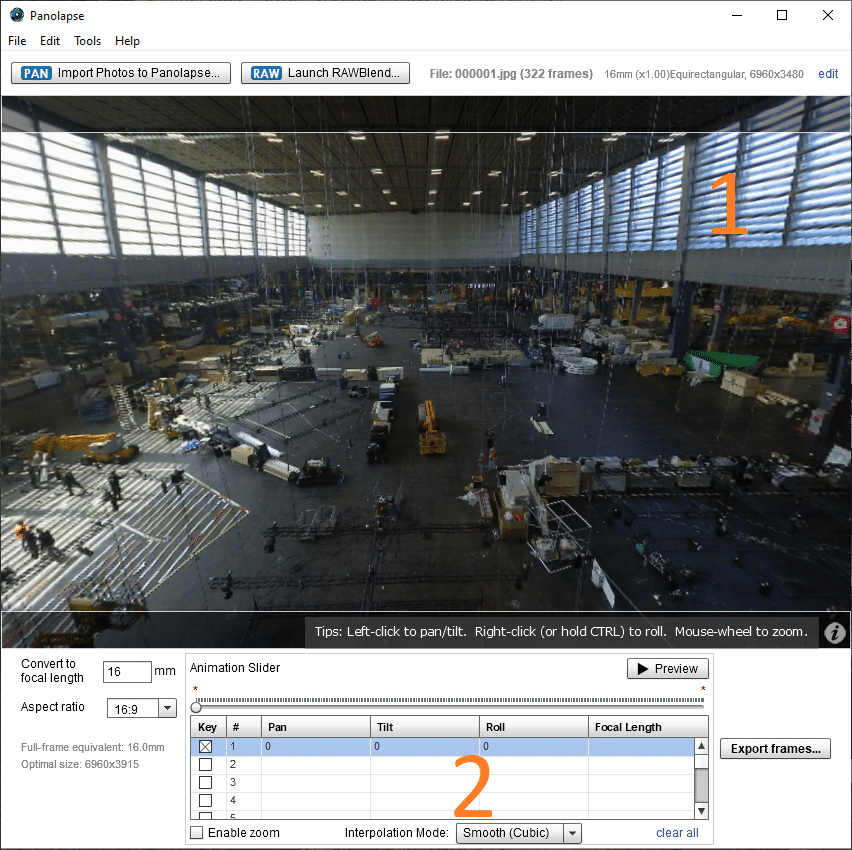
Panolapse : editing interface
In 1 the view and edit window of the view. You can change the view by clicking in it, zooming with the wheel, or changing the roll angle with a right click (or Ctrl+click).
En 2 the list of frames in your sequence with their orientation and focal length.
Select the first frame (see <2) and move the current view by clicking in the view and moving the cursor.

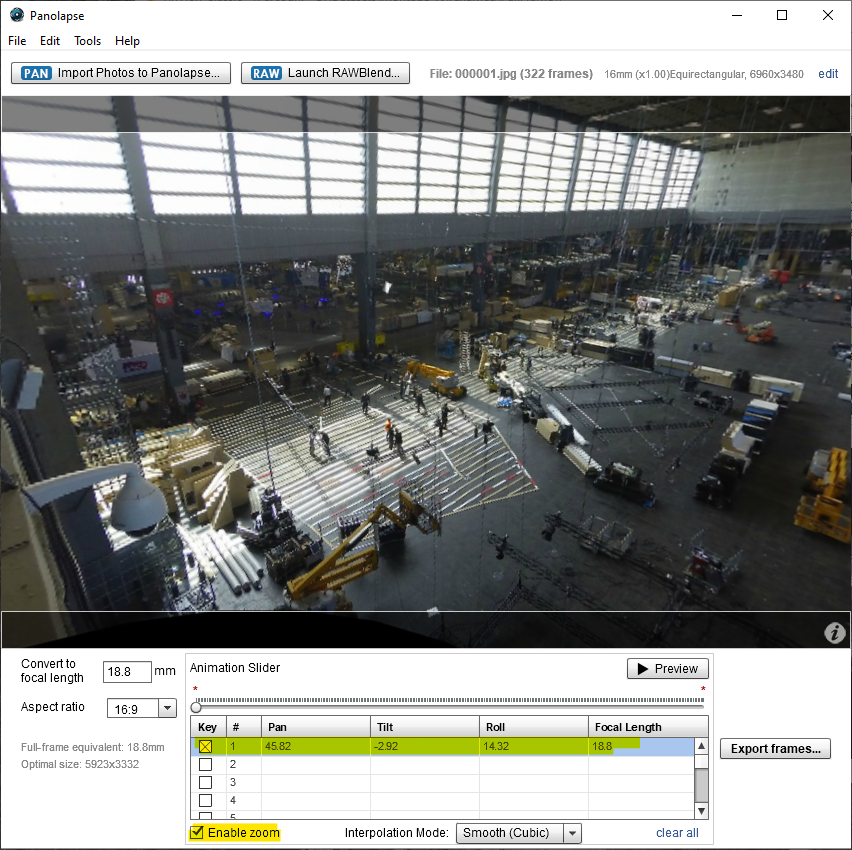
Panolapse: editing a view, first frame
Once you are satisfied, select (and check) the last frame of the timelapse and choose the desired orientation.

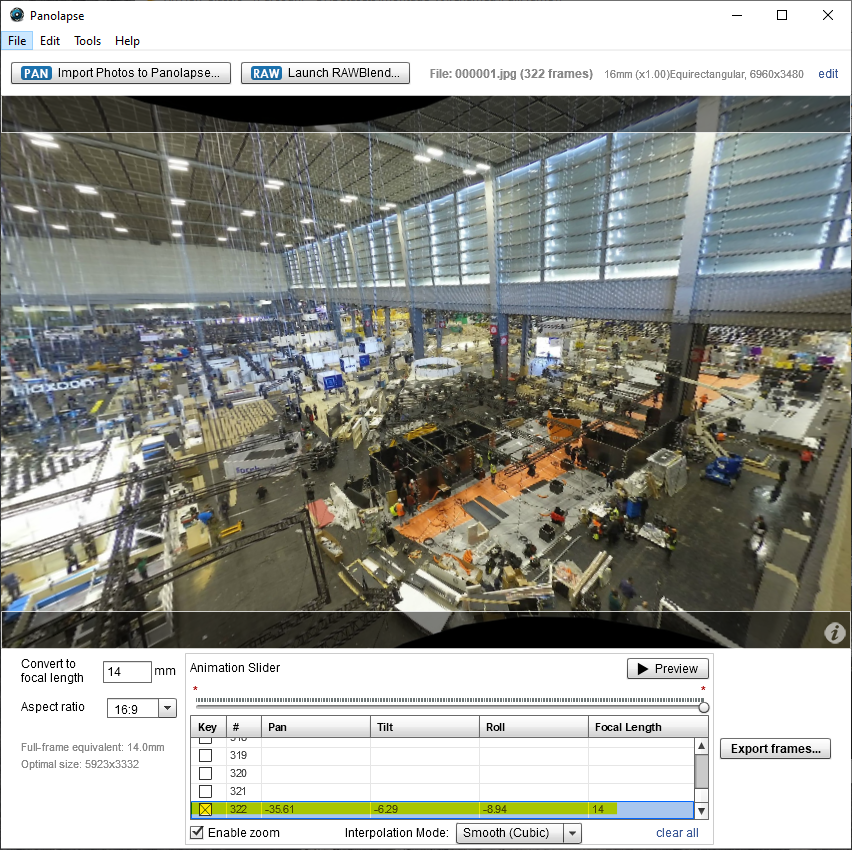
Panolapse: editing a view, last frame
You can then see that the software has interpolated the views in the video by clicking on the button “Preview“.
You can add other key frames in the same way for more complex movements. You can also check “Enable zoom” to have an additional degree of freedom on the views you can have. Don’t forget to check that the frame of your interpolated view does not leave the area defined by your image. To do this, you can select any frame in the list to update the view.
Video generation
When you are satisfied with your virtual camera movement in the timelapse, click on “Export frames…“.

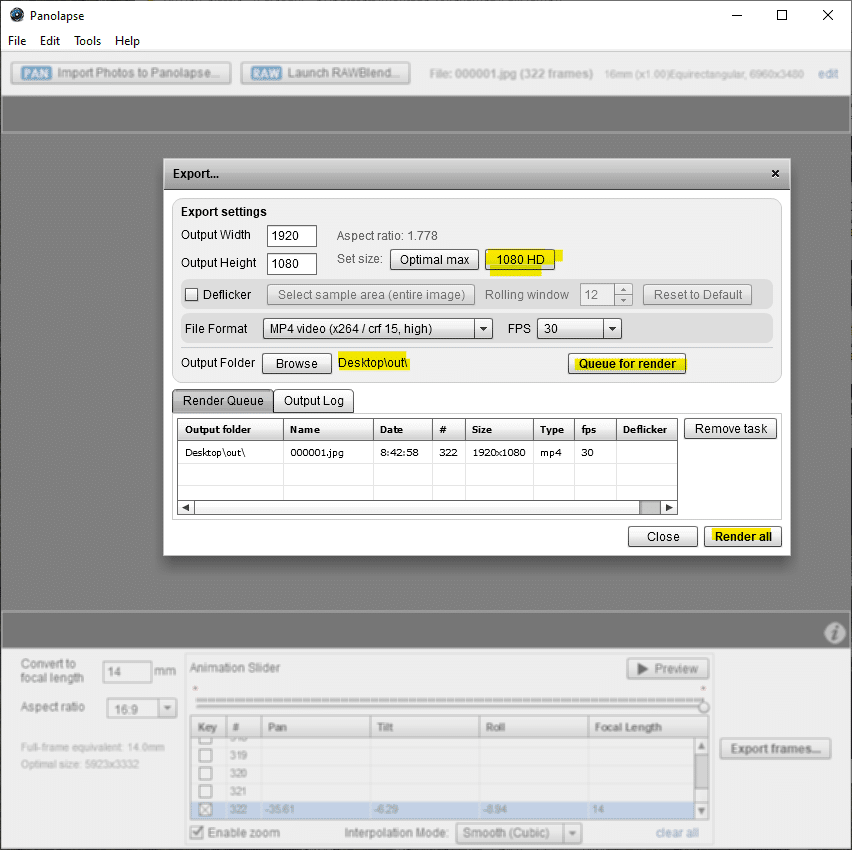
Panolapse : Video export
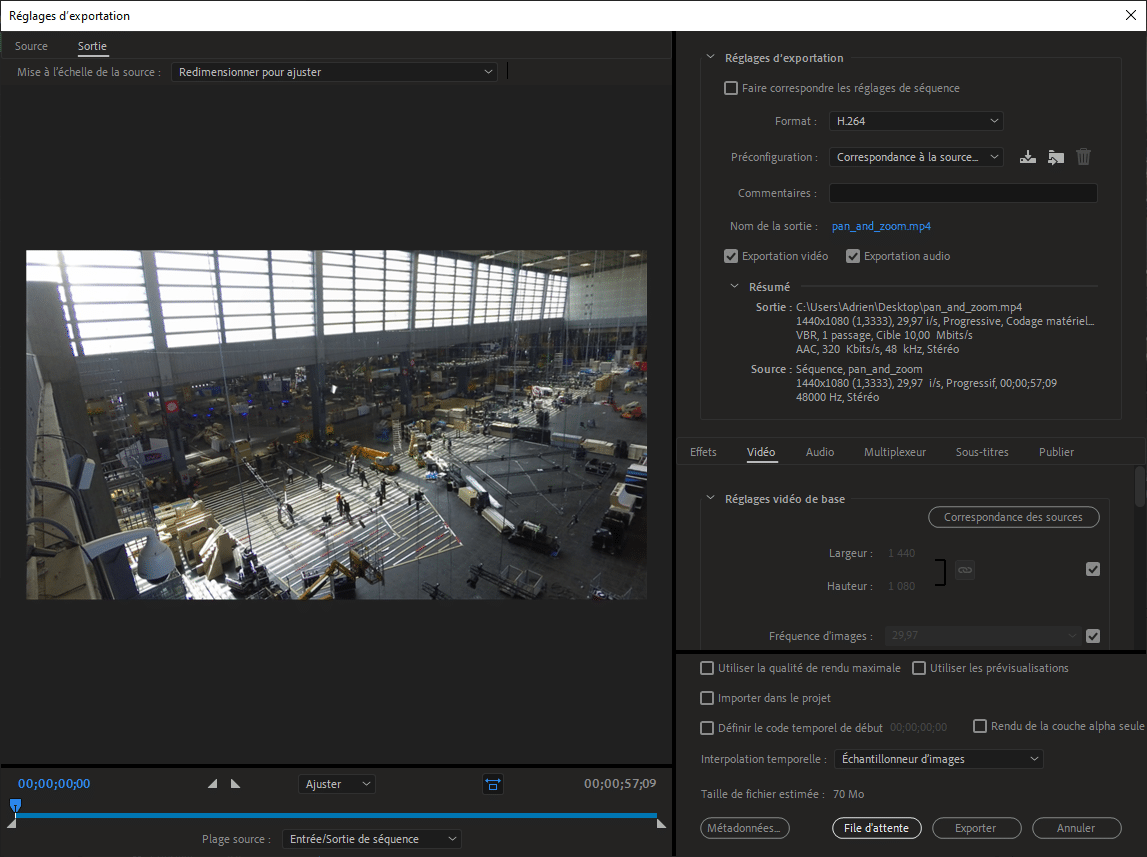
Select the output resolution of the video (limited to 720p in free version), as well as the output folder, and click on “Queue for render“. The final step, “Render all” will generate all frames of the video in the output folder and the video file. Here is the final video generated:


