
4 minutes
💡
Key Takeaways: Workflow for DNG (RAW) Capture with Tikee
Manual SD Card Recovery Only: Selecting the "Raw" (DNG) image format automatically de-selects cloud uploads to preserve camera battery and data. You must manually retrieve files from the SD card at the end of the sequence.
Keep Filenames and Metadata Intact: To successfully upload developed JPEGs to the myTikee platform later, you must never rename the files or alter essential metadata fields (
DateTimeOriginal,Maker,Model).Stitch-Friendly Image Development: Because left and right images blend into a panorama, avoid non-uniform adjustments like vignetting, radial filters, or graduated filters. Do not crop or apply geometric lens corrections if you want a panoramic format.
Optimal Export Settings: Export developed images at maximum resolution as JPEGs with a recommended quality value of 70 to achieve the best balance between file size and image clarity.
Minimum Processing Thresholds: To process your project on myTikee, the platform requires at least 100 pairs of images to initiate panoramic stitching and a minimum of 150 pairs to generate a final timelapse video.
In this article, we will provide a detailed explanation about capturing images in DNG format with the Tikee camera. We'll discuss what to look out for during image development and how to produce a timelapse on our platform.
We will not delve into the specifics of DNG development for timelapses at this time (temporal coherence of parameters, anti-flicker, etc.). There is a good chance we will cover this in a future blog post ;)
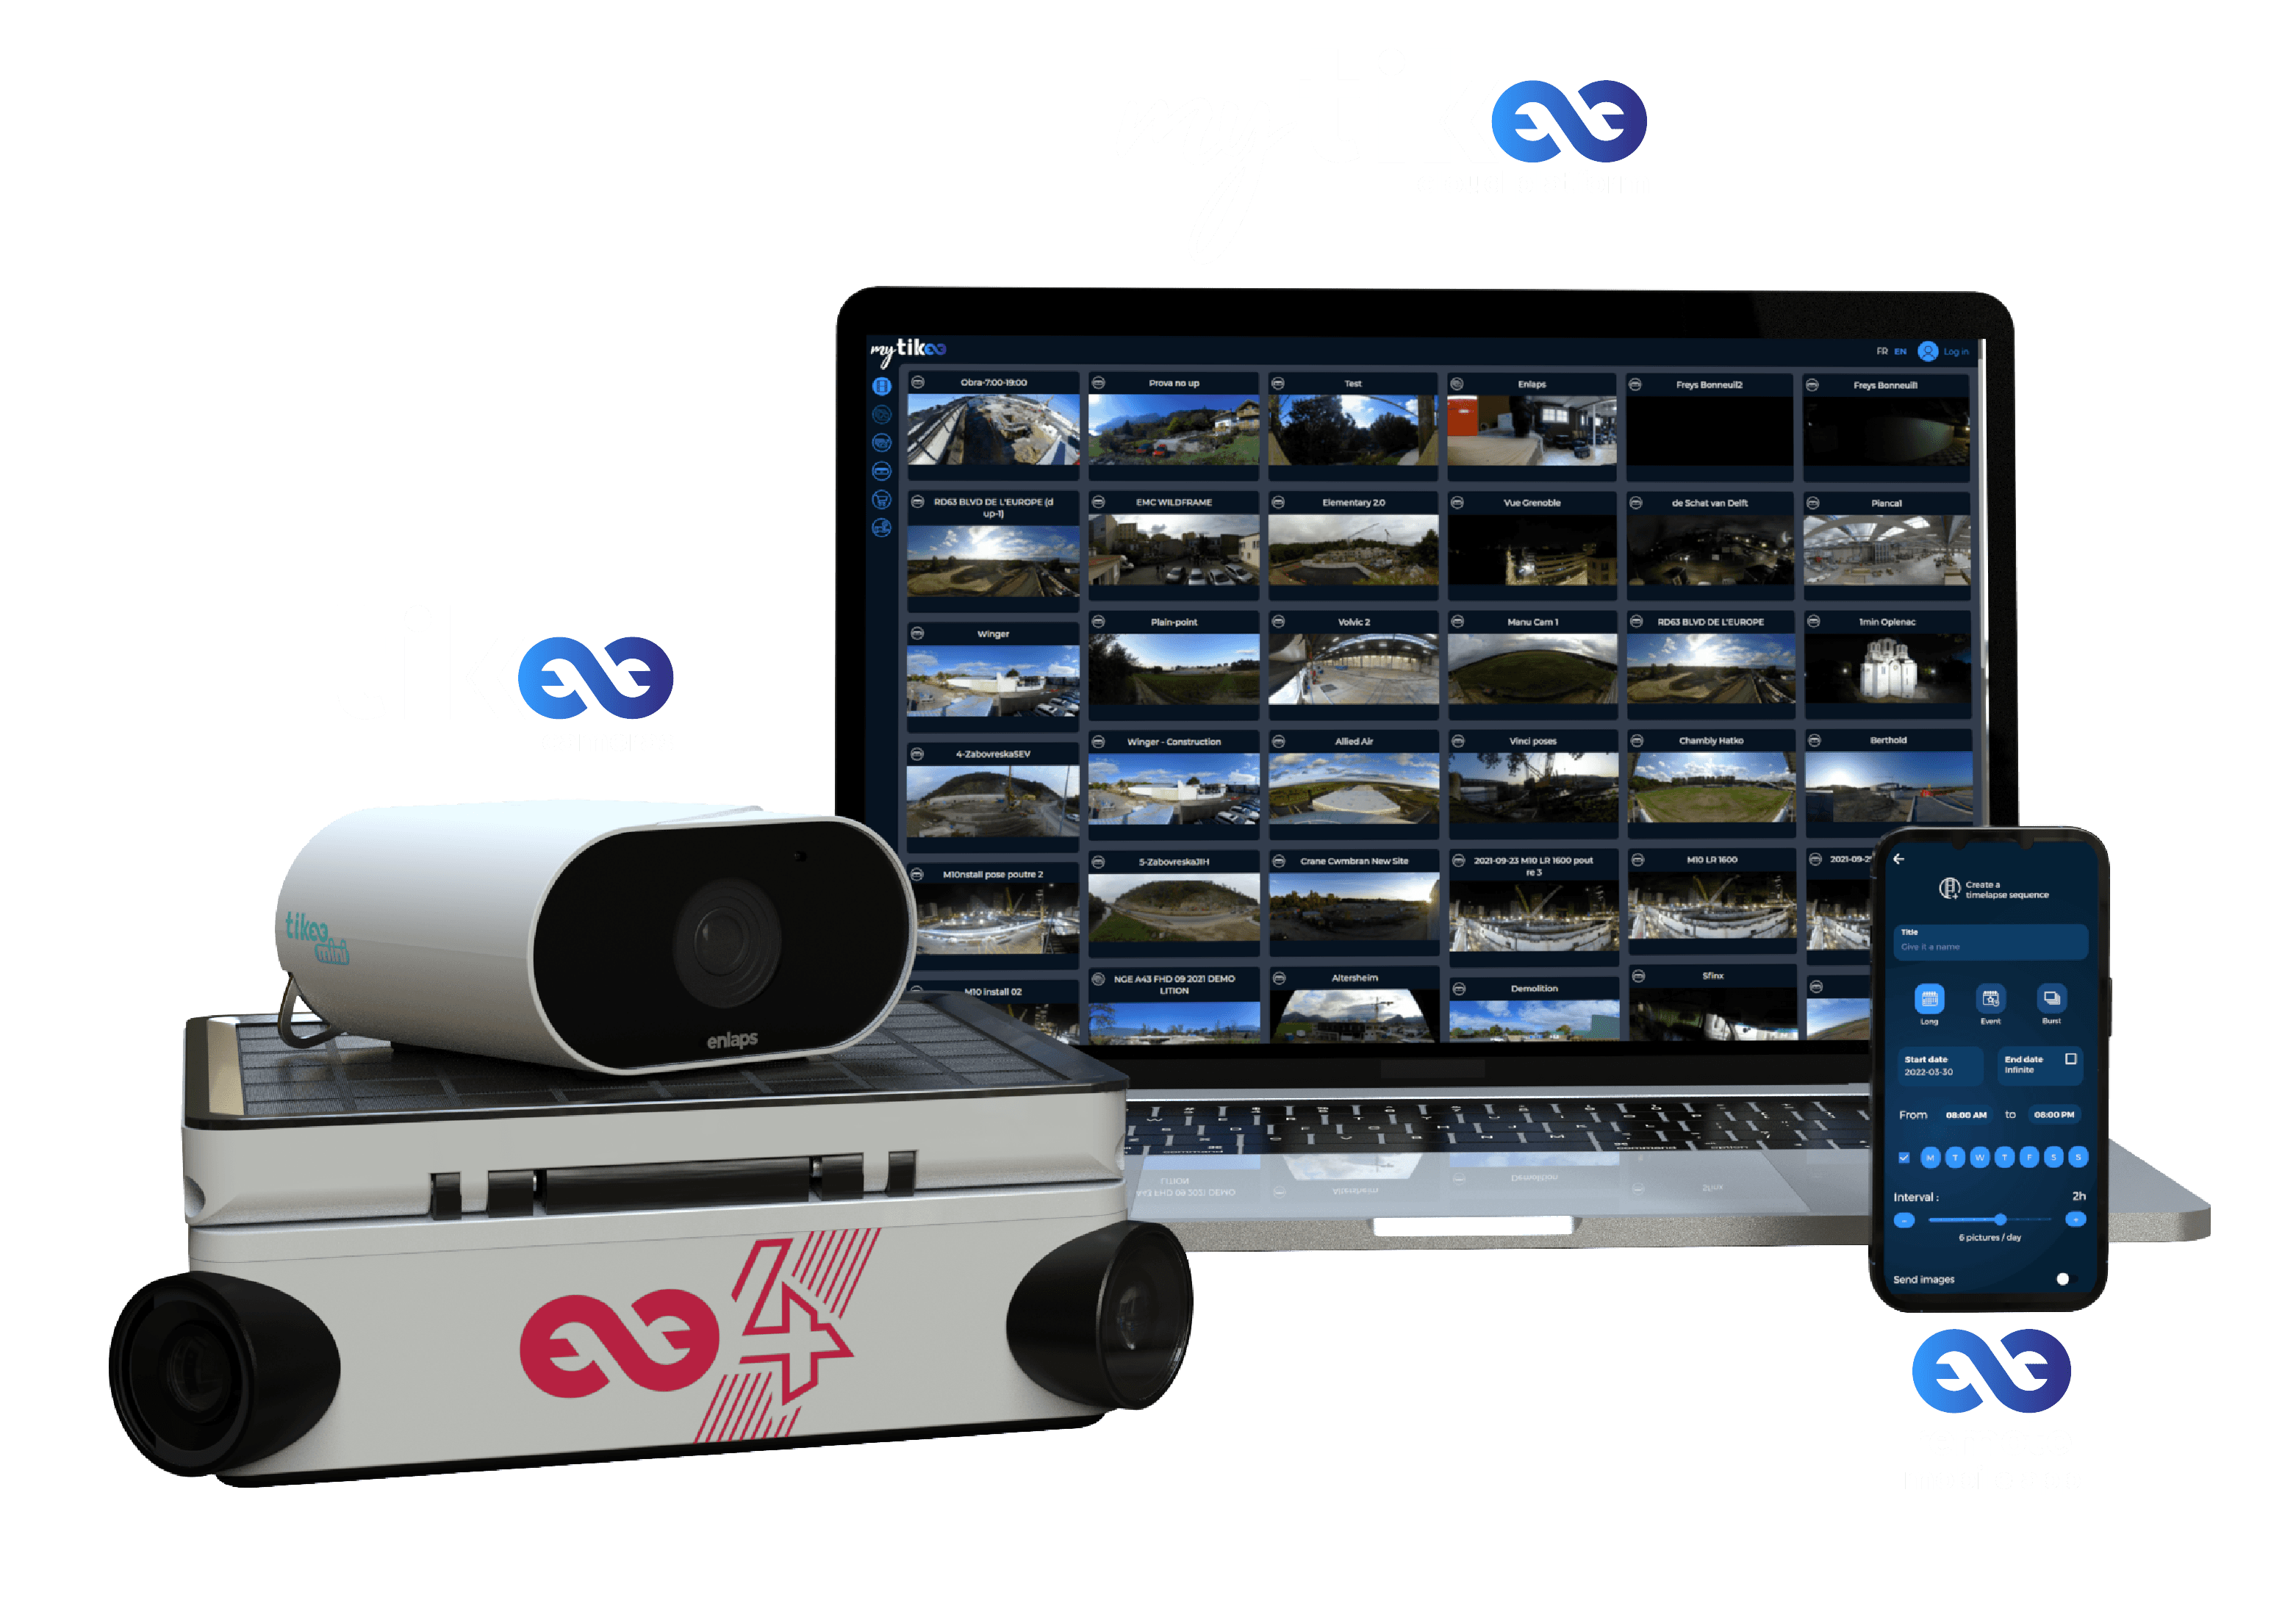
The Tikee camera permits the capturing of images in DNG format. This norm, fashioned by Adobe, makes it possible to store the raw sensor data plus details on the camera and shooting conditions. This allows for 'development' of these images using specialized software like Adobe Lightroom CC. Many photographers treasure this process because it affords the chance to apply a personal touch to color rendition and to make bespoke adjustments for noise reduction and edge refinement that go beyond what's possible with default camera settings.
Capture images in DNG format
This option is at present only accessible for 'long-term' timelapses.
When programming your time lapse sequence, choose 'Raw' under 'Image Format' (refer to the image below). You will observe that the 'image upload' is automatically de-selected because the size of the resulting files would significantly impact the camera's autonomy if sent through Wifi or 4G. The files get saved on the SD cards, and you must retrieve them at the end of the recording sequence. The remainder of the setup is standard.

Importing images
Following the recovery of your SD card, transfer the files into the development software of your preference. For Lightroom, selecting Import> 'Copy' will copy the files onto your computer and add them to your catalog.

It's crucial at this phase not to rename the files.
Also, if you customarily edit import metadata, ensure not to alter the 'DateTimeOriginal', 'Maker', 'Model' fields to later upload them to my.tikee.io.
Image development
At this juncture, you can let your creativity run wild.
Nonetheless, bear in mind that the images will be amalgamated into a panorama later. Hence, abstain from uneven treatments like:
Vignetting
Radial filters
Graduated filters
One essential rule* (if you opt for the panoramic format): refrain from any cropping, lens correction, or other geometric modifications, unless you're exclusively utilizing images from either the right or left sensor.
Exporting images
During export, do not:
Modify the names of the images. For instance, an image named 000123_LEFT.dng should be exported as 000123_LEFT.jpg.
Omit the metadata. Retain the same details as during the import: 'DateTimeOriginal', 'Maker', Model'.
Some additional suggestions:
You can adjust the JPEG quality. Strive to find a balance between the size of the output files and image fidelity. We suggest a value around 70. Our comparative research is available here.
The export resolution can also be modified. Yet, be aware that this will influence the resolution of your final panorama. We advise maintaining the highest resolution feasible.
Setting up a project on my.tikee.io
Within your private space on my.tikee.io, initiate a new timelapse project (‘+’ button). Deposit your files into the assigned space to commence the upload, or click on the 'cloud' icon.

A minimum of 100 image pairs are required to initiate the merge, and 150 are necessary to generate a video.
At least 100 pairs of images are needed to begin the merging process, and 150 to produce a video.
Your video will be ready shortly thereafter.
For any further queries, please do not hesitate to get in touch with us.
We look forward to bringing you more articles on timelapse techniques in the near future.
In need of a custom demonstration?
To better understand the Tikee solution and to learn more before getting started, we offer you the opportunity to schedule a one-on-one appointment, via video conference.
Newsletter
Subscribe for our newsletter
Get the latest news, exclusive offers, use cases, and expert advice by signing up now!
