
4 minutes
💡
Key Takeaways: Workflow for DNG (RAW) Capture with Tikee
Manual SD Card Recovery Only: Selecting the "Raw" (DNG) image format automatically de-selects cloud uploads to preserve camera battery and data. You must manually retrieve files from the SD card at the end of the sequence.
Keep Filenames and Metadata Intact: To successfully upload developed JPEGs to the myTikee platform later, you must never rename the files or alter essential metadata fields (
DateTimeOriginal,Maker,Model).Stitch-Friendly Image Development: Because left and right images blend into a panorama, avoid non-uniform adjustments like vignetting, radial filters, or graduated filters. Do not crop or apply geometric lens corrections if you want a panoramic format.
Optimal Export Settings: Export developed images at maximum resolution as JPEGs with a recommended quality value of 70 to achieve the best balance between file size and image clarity.
Minimum Processing Thresholds: To process your project on myTikee, the platform requires at least 100 pairs of images to initiate panoramic stitching and a minimum of 150 pairs to generate a final timelapse video.
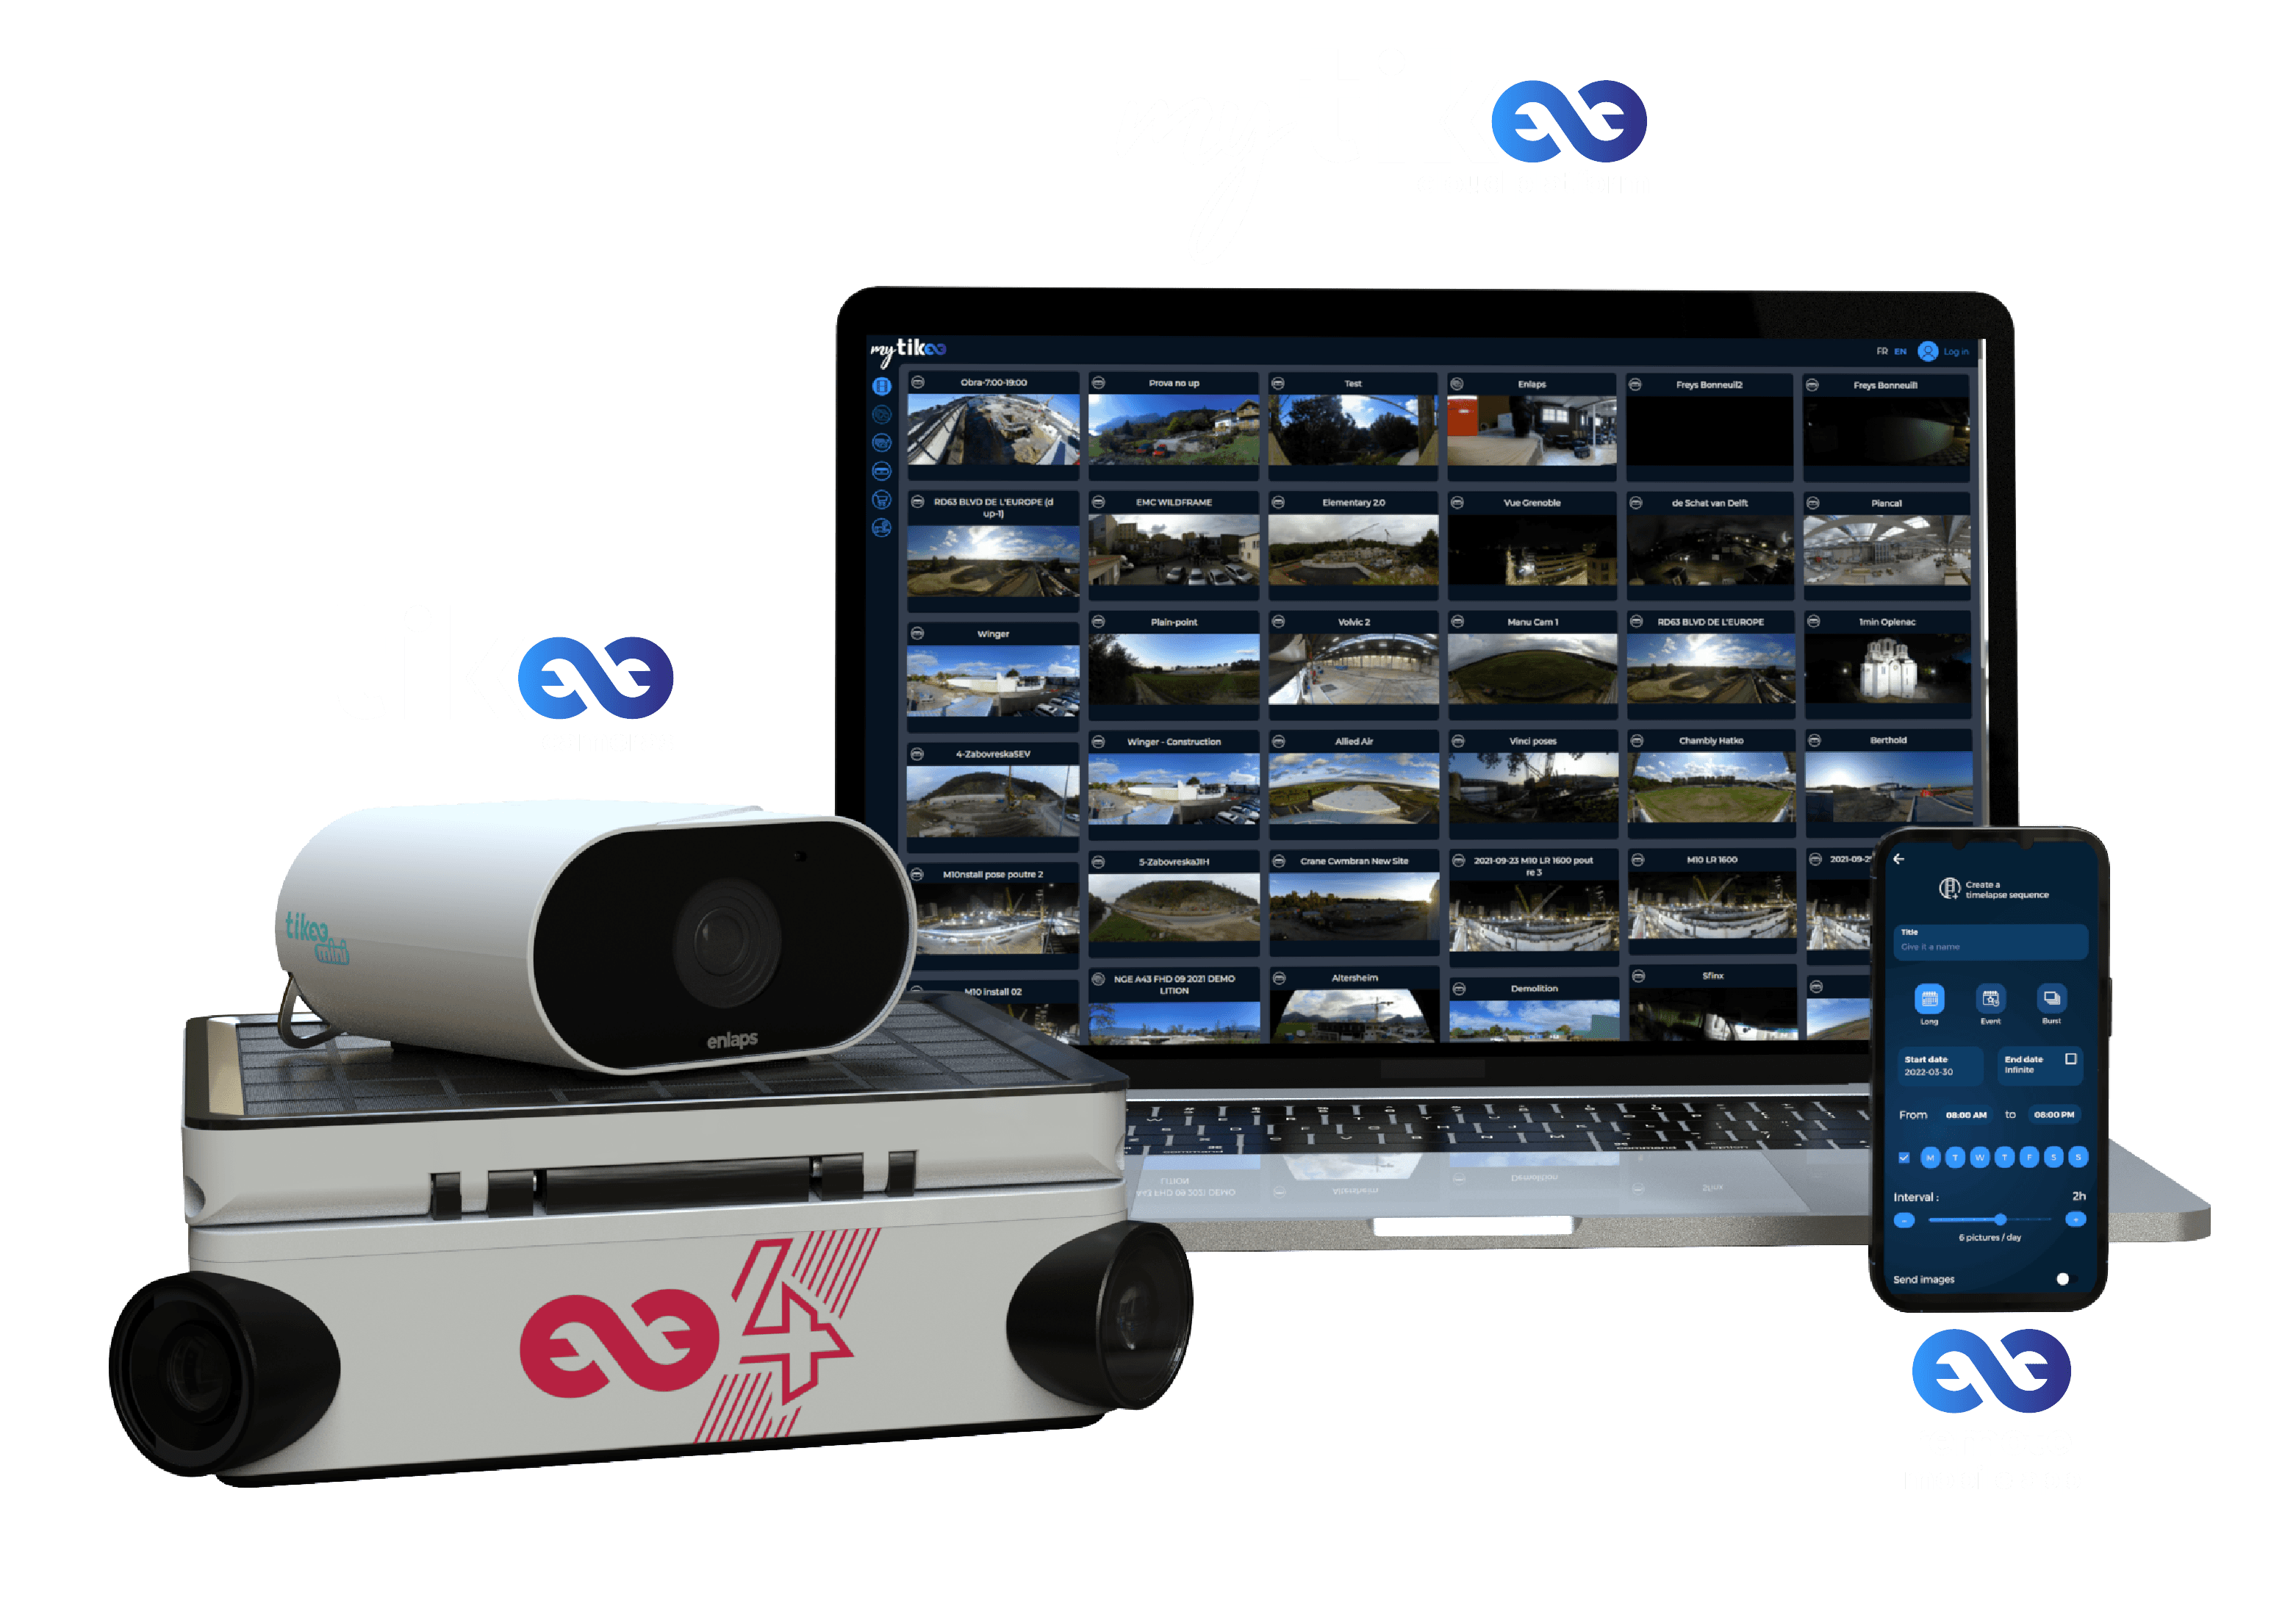
In this article, we will detail how to capture images in DNG format with the Tikee camera, what to pay attention to during image development, and how to generate a timelapse on our platform.
We will not go into the specifics of DNG development for timelapse (temporal coherence of parameters, antiflicker, etc.). This will likely be the subject of a future blog post ;)
The Tikee camera allows you to capture images in DNG format. This standard, created by Adobe, enables the storage of RAW sensor data along with information about the camera and shooting conditions, making it possible to “develop” these images using dedicated software like Adobe Lightroom CC. This workflow is highly valued by photographers as it allows for personalized color rendering and custom adjustments for noise reduction and edge enhancement, beyond what the camera's default settings offer.
Capture images in DNG format
This mode is currently only available for “long-term” timelapses.
When setting up your time lapse sequence, select “Raw” for the “Image Format” (see image below). You will notice that the “uploading of images” is automatically de-selected: the size of the files generated would have an impact too important on the autonomy of the camera if we transmit them by Wifi or 4G. The files are stored on the SD cards and you will have to recover them at the end of the capture sequence. The rest of the configuration follows the usual setup.

Importing images
Once your SD card is recovered, import the files into your favorite development software. For Lightroom: Import> “Copy” will copy the files to a folder on your computer and add it to your library.

At this step, you must be careful not to rename the files.
In addition, if you are used to editing import metadata, be careful not to touch the “DateTimeOriginal”, “Maker”, “Model” fields to import them to my.tikee.io later.
Image development
At this stage, you can unleash your creativity.
However, keep in mind that the images will later be merged into a panorama. Therefore, avoid non-uniform treatments such as:
Vignetting
Radial filters
Graduated filters
One imperative* (if you want to use the panoramic format): no cropping, correction of the objective, or other geometric transformation, unless you are only using images from either the right or left sensor.
Exporting images
When exporting, do not:
Change the name of the images. For example, an 000123_LEFT.dng image should be exported as 000123_LEFT.jpg.
Delete the metadata. The same fields as during the import are to keep: “DateTimeOriginal”, “Maker”, “Model”.
Some additional tips:
JPEG quality can be changed. It’s up to you to find a good compromise between the weight of the output files and image quality. We recommend a value of 70. See our comparative study here.
The output resolution can also be adjusted. But be careful, this will have an impact on the resolution of the generated panorama. We recommend leaving the maximum resolution.
Creating a project on my.tikee.io
In your personal space on my.tikee.io, create a new timelapse (“+” button). Drag your files to the area provided for this purpose to start the upload, or click on the “cloud”.

It takes at least 100 pairs of images to start the merge and 150 to create a video.
After a few moments, your video will be ready.
Please contact us for any additional information.
See you soon for a new article on timelapse techniques
In need of a custom demonstration?
To better understand the Tikee solution and to learn more before getting started, we offer you to schedule an individual appointment, via video conference.
Newsletter
Sign up for our newsletter
Get the latest news, exclusive offers, use cases, and expert advices by signing up now!
